
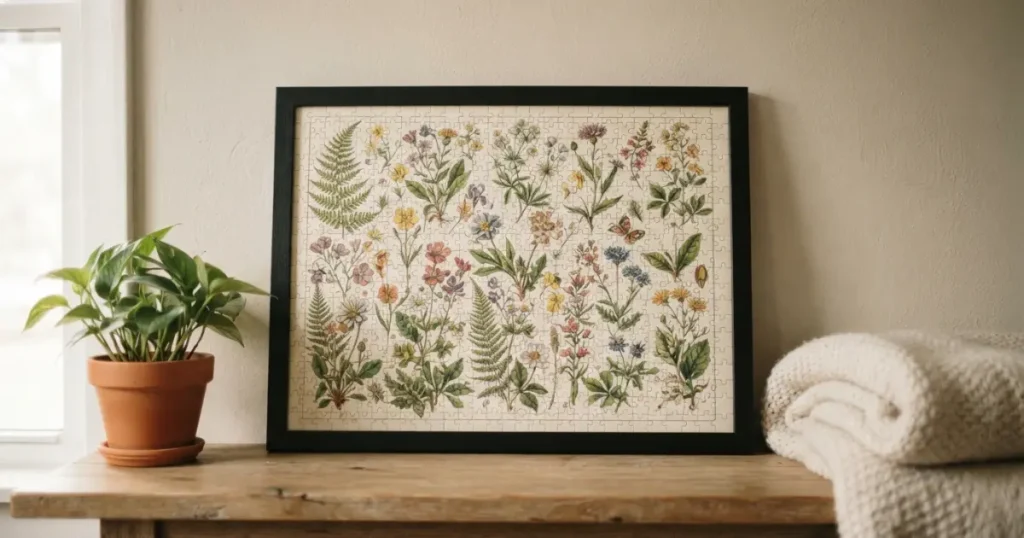
Framing a finished puzzle comes down to four real steps: glue it, let it dry completely, mount it on a backing board, then set it into a frame sized to fit. Most of the timeline is drying time, not hands-on work — plan for 24 to 48 hours from your first coat of glue to hanging it on the wall. Get the order right and a $15 puzzle turns into wall art that holds up for years.
Why Frame a Puzzle?
I still remember the first puzzle I framed. It was a 1,000-piece cabin-in-the-woods scene my grandmother and I finished together over a rainy weekend.
Taking it apart felt wrong. So I didn’t.
That’s the real reason people frame puzzles. It’s not really about the picture. It’s about turning hours of focus — and often a shared memory with someone — into something you don’t have to box up and forget.
At Letter Puzzle Hub, we hear this from our community constantly. If you’re the kind of person who loves finishing a puzzle, word or jigsaw, you probably already understand the pull to preserve it. If daily brain-teaser puzzles are your thing too, you can play a free word puzzle every day right here on the site while your glue dries.
A framed puzzle also just works as decor in a way people don’t expect. It reads as art, not as “craft project,” especially once it’s behind glass in a clean frame.
I’ve given a few away as gifts too. A finished puzzle of someone’s hometown skyline or a photo they sent me, framed and ready to hang, tends to land better than most things you’d pick up at a store. It’s obvious you put real time into it.
There’s also a quieter reason. Puzzles get boxed up and donated the moment they’re done, most of the time. Framing one is a small way of saying this particular one mattered enough to keep.
Which Puzzles Are Worth Framing?
Not every puzzle needs to end up on a wall, and that’s fine. A few things I look for before I commit the time and materials:
- Piece count under 1,500 is the easiest to handle solo. Anything larger gets heavy and awkward to flip once glued.
- A design you’ll actually want to look at daily. A puzzle you enjoyed solving once isn’t automatically one you’ll enjoy staring at for years.
- All pieces present. Check for gaps before you glue — a missing piece is a lot more forgivable in the box than permanently sealed into a frame.
- Sentimental value. A custom photo puzzle, a trip souvenir, or one you built with someone specific almost always beats a random store-bought scene.
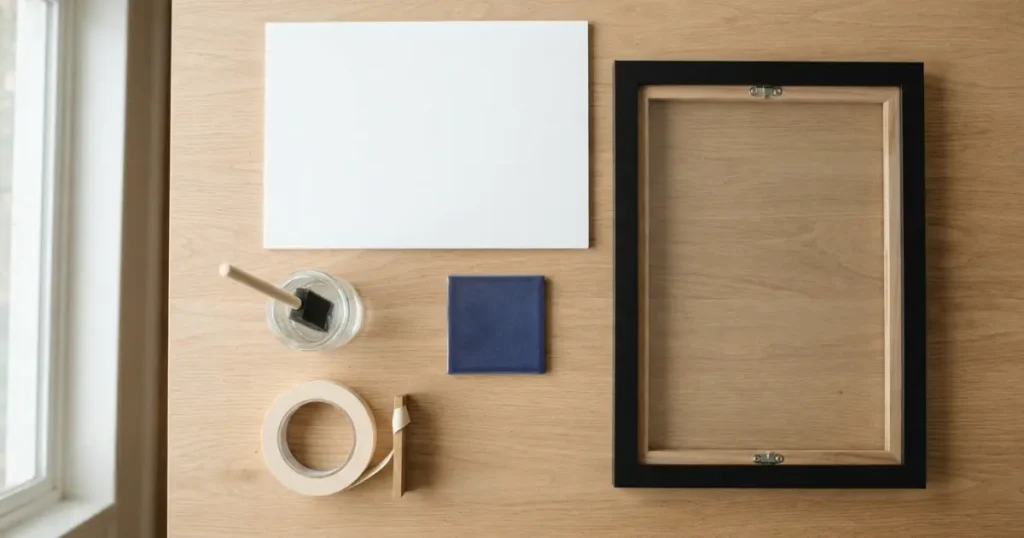
Essential Tools & Materials Comparison Table
You don’t need a workshop for this. Here’s what actually matters, and what each option costs in the real world (US pricing, approximate).
| Item | Best For | Pros | Cons | Approx. Cost |
|---|---|---|---|---|
| Mod Podge Puzzle Saver | Most puzzles, first-timers | Purpose-built, dries clear, easy cleanup with soap and water | Slight yellow tint over many years if not UV-protected behind glass | $6–$12 |
| Peel-and-stick puzzle glue sheets | Puzzles you want to move without drying time | No wet glue, no bubbles, works instantly | Sheets can wrinkle on curved or warped puzzles; pricier per puzzle | $10–$18 |
| Regular Mod Podge (Matte/Gloss) | Crafters who already own it | Multi-purpose, cheaper per ounce in bulk | Not puzzle-specific, slightly thinner formula | $8–$14 |
| Diluted white glue (Elmer’s + water) | Budget framing, kids’ puzzles | Nearly free, already in most homes | Higher bubble and wrinkle risk, dries less evenly | Under $3 |
| Foam brush | Applying any of the above | Cheap, disposable, no brush-stroke lines | Wears out fast on large puzzles | $1–$3 |
| Foam board backing | Standard framing | Lightweight, cheap, acid-free versions available | Can dent if handled roughly | $4–$8 |
| Plywood or MDF backing | Puzzles you’ll handle a lot before hanging | Rigid, won’t warp | Heavier, needs a hand saw or precut size | $8–$20 |
| Ready-made frame | Standard puzzle sizes (500 or 1,000-piece) | Cheapest, widely available | Limited size options for odd puzzle dimensions | $15–$40 |
| Custom-cut frame | Oversized or oddly-shaped puzzles | Exact fit, better long-term protection | Costs more, usually a 1–2 week order | $40–$120+ |
My honest take, after framing more of these than I can count: Mod Podge Puzzle Saver plus a basic ready-made frame is the right starting point for your first one. Upgrade to peel-and-stick sheets or a custom frame once you know you’re going to keep doing this.
Total cost for your first attempt, glue through frame, usually lands somewhere between $20 and $50. That’s genuinely cheap for something that’ll hang on a wall for years, and most of it is a one-time purchase — one bottle of glue easily covers several puzzles.
Step-by-Step Framing Instructions
Step 1: Prepping
Work on a completely flat, hard surface. A wobbly table is where warping starts.
Slide a large piece of cardboard or foam board under the entire puzzle before you do anything else. You’ll need to move the puzzle later, and lifting it without a rigid backing is how puzzles crack.
Wipe the surface gently with a dry microfiber cloth. Skip this step and you’ll glue dust and crumbs right into the finish.
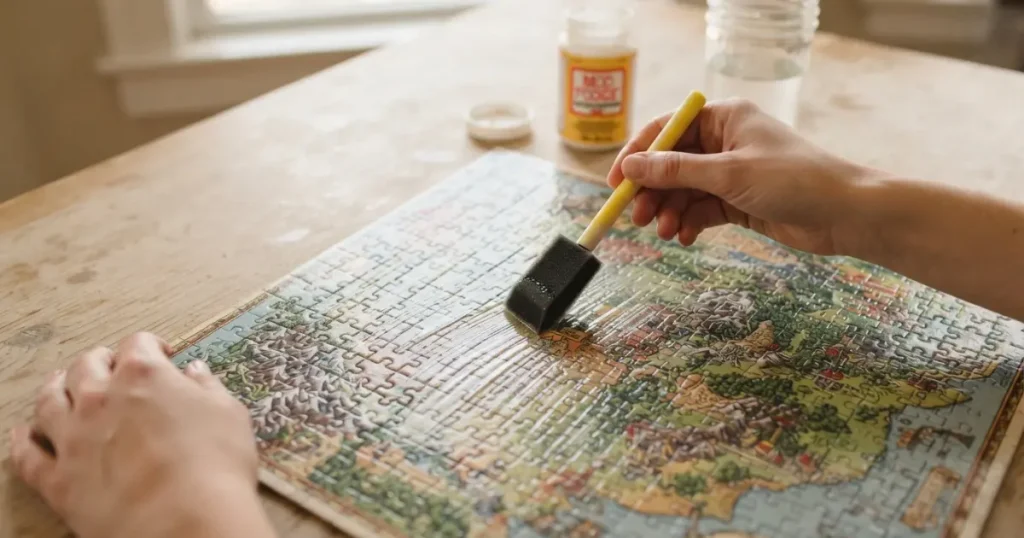
Step 2: Gluing
Apply glue in thin, even layers. This is the step most beginners rush, and it’s the one that causes almost every problem you’ll read about later in this guide.
- Start from the center and work outward toward the edges
- Use long, single-direction brush strokes — don’t scrub back and forth
- Cover the entire surface, including edge pieces, right to the border
- Apply a second thin coat once the first is fully dry, not while it’s still tacky
Two thin coats consistently beat one thick coat. A thick single coat pools in the gaps between pieces and dries unevenly.
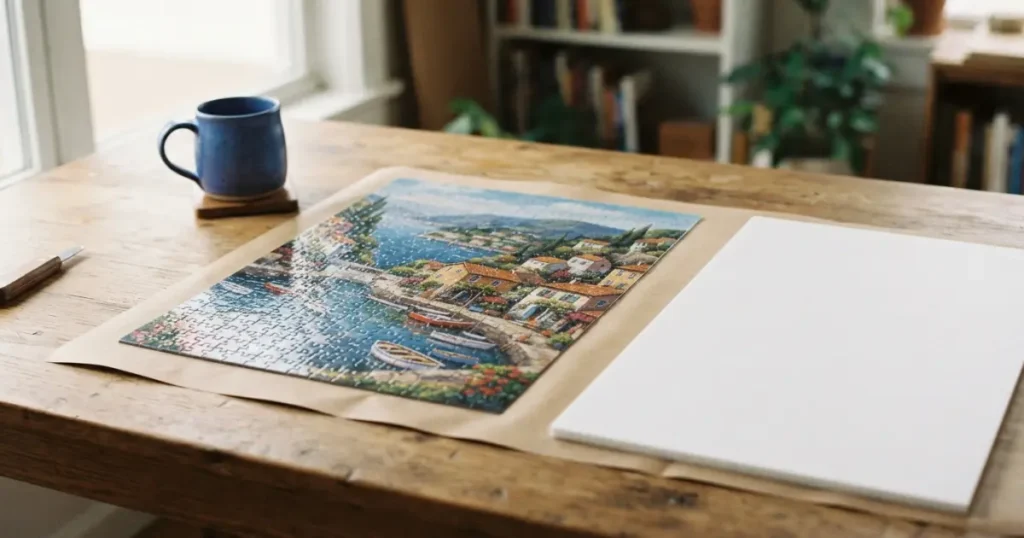
Step 3: Drying
Leave the puzzle completely flat and undisturbed. Don’t prop it up, don’t move it to check on it every twenty minutes.
- Between coats: 2 to 4 hours in a dry, well-ventilated room
- Full cure before handling: at least 24 hours
- Full cure before framing behind glass: 48 hours is safer
Humidity slows this down a lot. If you live somewhere muggy, add extra time rather than guessing.
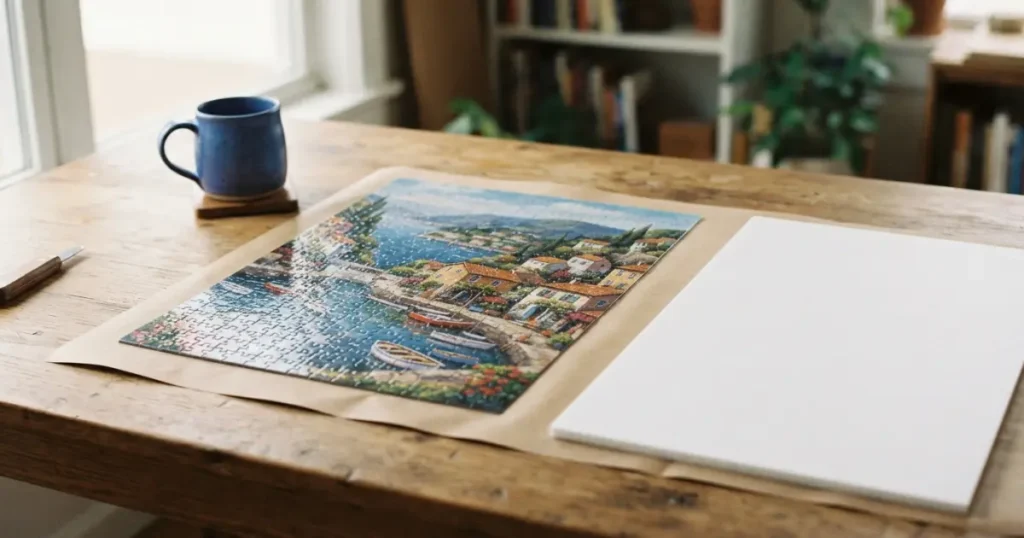
Step 4: Mounting
Once fully cured, flip the puzzle carefully onto your backing board. Center it, then trace or measure the edges so you know exactly where it needs to sit.
Attach it with a thin bead of the same glue around the back edges, or use acid-free double-sided mounting tape if you’d rather skip more wet glue. Press evenly — don’t just push down on the middle, or you’ll bow the board.
Let this bond set for another hour before moving the piece again.
Step 5: Framing
Measure your mounted puzzle before you shop for a frame, not after. Puzzle dimensions rarely match standard photo sizes exactly, so check a proper frame size guide before you buy anything.
If you’re using glass or acrylic glazing, leave a small air gap between the glazing and the puzzle surface if your frame allows it. Direct contact over time can trap moisture against the glue finish.
Secure the backing into the frame with the same points-and-tape method you’d use for a poster, then hang it somewhere out of direct sunlight. UV exposure is the main reason framed puzzles fade over the years, more than the glue itself.
Pro Hacks
These are the three problems I get asked about most, and every one of them is fixable if you catch it in time.
Fixing air bubbles: Small bubbles usually flatten out as the puzzle fully cures, so don’t panic the moment you spot one. For a bubble that’s still visible after 24 hours, use a pin to make a tiny pinhole, then press gently from the center outward with a credit card wrapped in a soft cloth.
Fixing glue bleed: Glue bleed happens when you apply too much at once, and it pools visibly in the seams between pieces. Catch it early with a slightly damp (not wet) cotton swab before it dries — once it’s cured, you’re stuck with it, so thin coats really are worth the extra patience.
Fixing warped pieces: A warped puzzle almost always means it dried unevenly, usually from too much glue on one side or drying near a heat source. Lay it flat under a large, heavy, flat object — a few big books work fine — for 24 to 48 hours, with a sheet of parchment paper between the puzzle and the weight so nothing sticks.
FAQ
Do I need to glue a puzzle before framing it? Not strictly, but it’s strongly recommended. An unglued puzzle can shift or fall apart the moment the frame is moved, tilted, or bumped against a wall.
What’s the best glue for puzzles? A puzzle-specific product like Mod Podge Puzzle Saver is the easiest option for most people, since it’s formulated to dry clear without yellowing quickly. Peel-and-stick puzzle glue sheets are a solid alternative if you want to skip drying time entirely.
Can I frame a puzzle without gluing it? Yes, if you use a frame with a snug, fully enclosed backing that holds constant pressure across the whole surface. It’s riskier than gluing, though — any gap or shift in the backing can cause pieces to separate over time.
How long should I let puzzle glue dry before framing? Give it a minimum of 24 hours before handling it at all, and 48 hours before sealing it behind glass. Framing it too early traps moisture inside, which can cause cloudiness or warping down the line.
Final Thoughts
Framing a puzzle isn’t complicated, but it does reward patience over speed. Every mistake I’ve made with this — bubbles, warping, glue that bled through the seams — came from rushing a drying step, not from doing something technically wrong. Give it the time it needs, and a puzzle you built one piece at a time turns into something worth keeping on the wall for years.
If you’re the kind of person who likes finishing puzzles, our community at Letter Puzzle Hub probably has your next challenge. Play a free word puzzle every day, or keep the streak going with unlimited practice whenever you want more than one puzzle in a sitting. Either way, you already know the feeling that makes framing worth it that moment you place the last piece and don’t want it to end. That’s exactly what keeps our readers coming back for the next puzzle too.